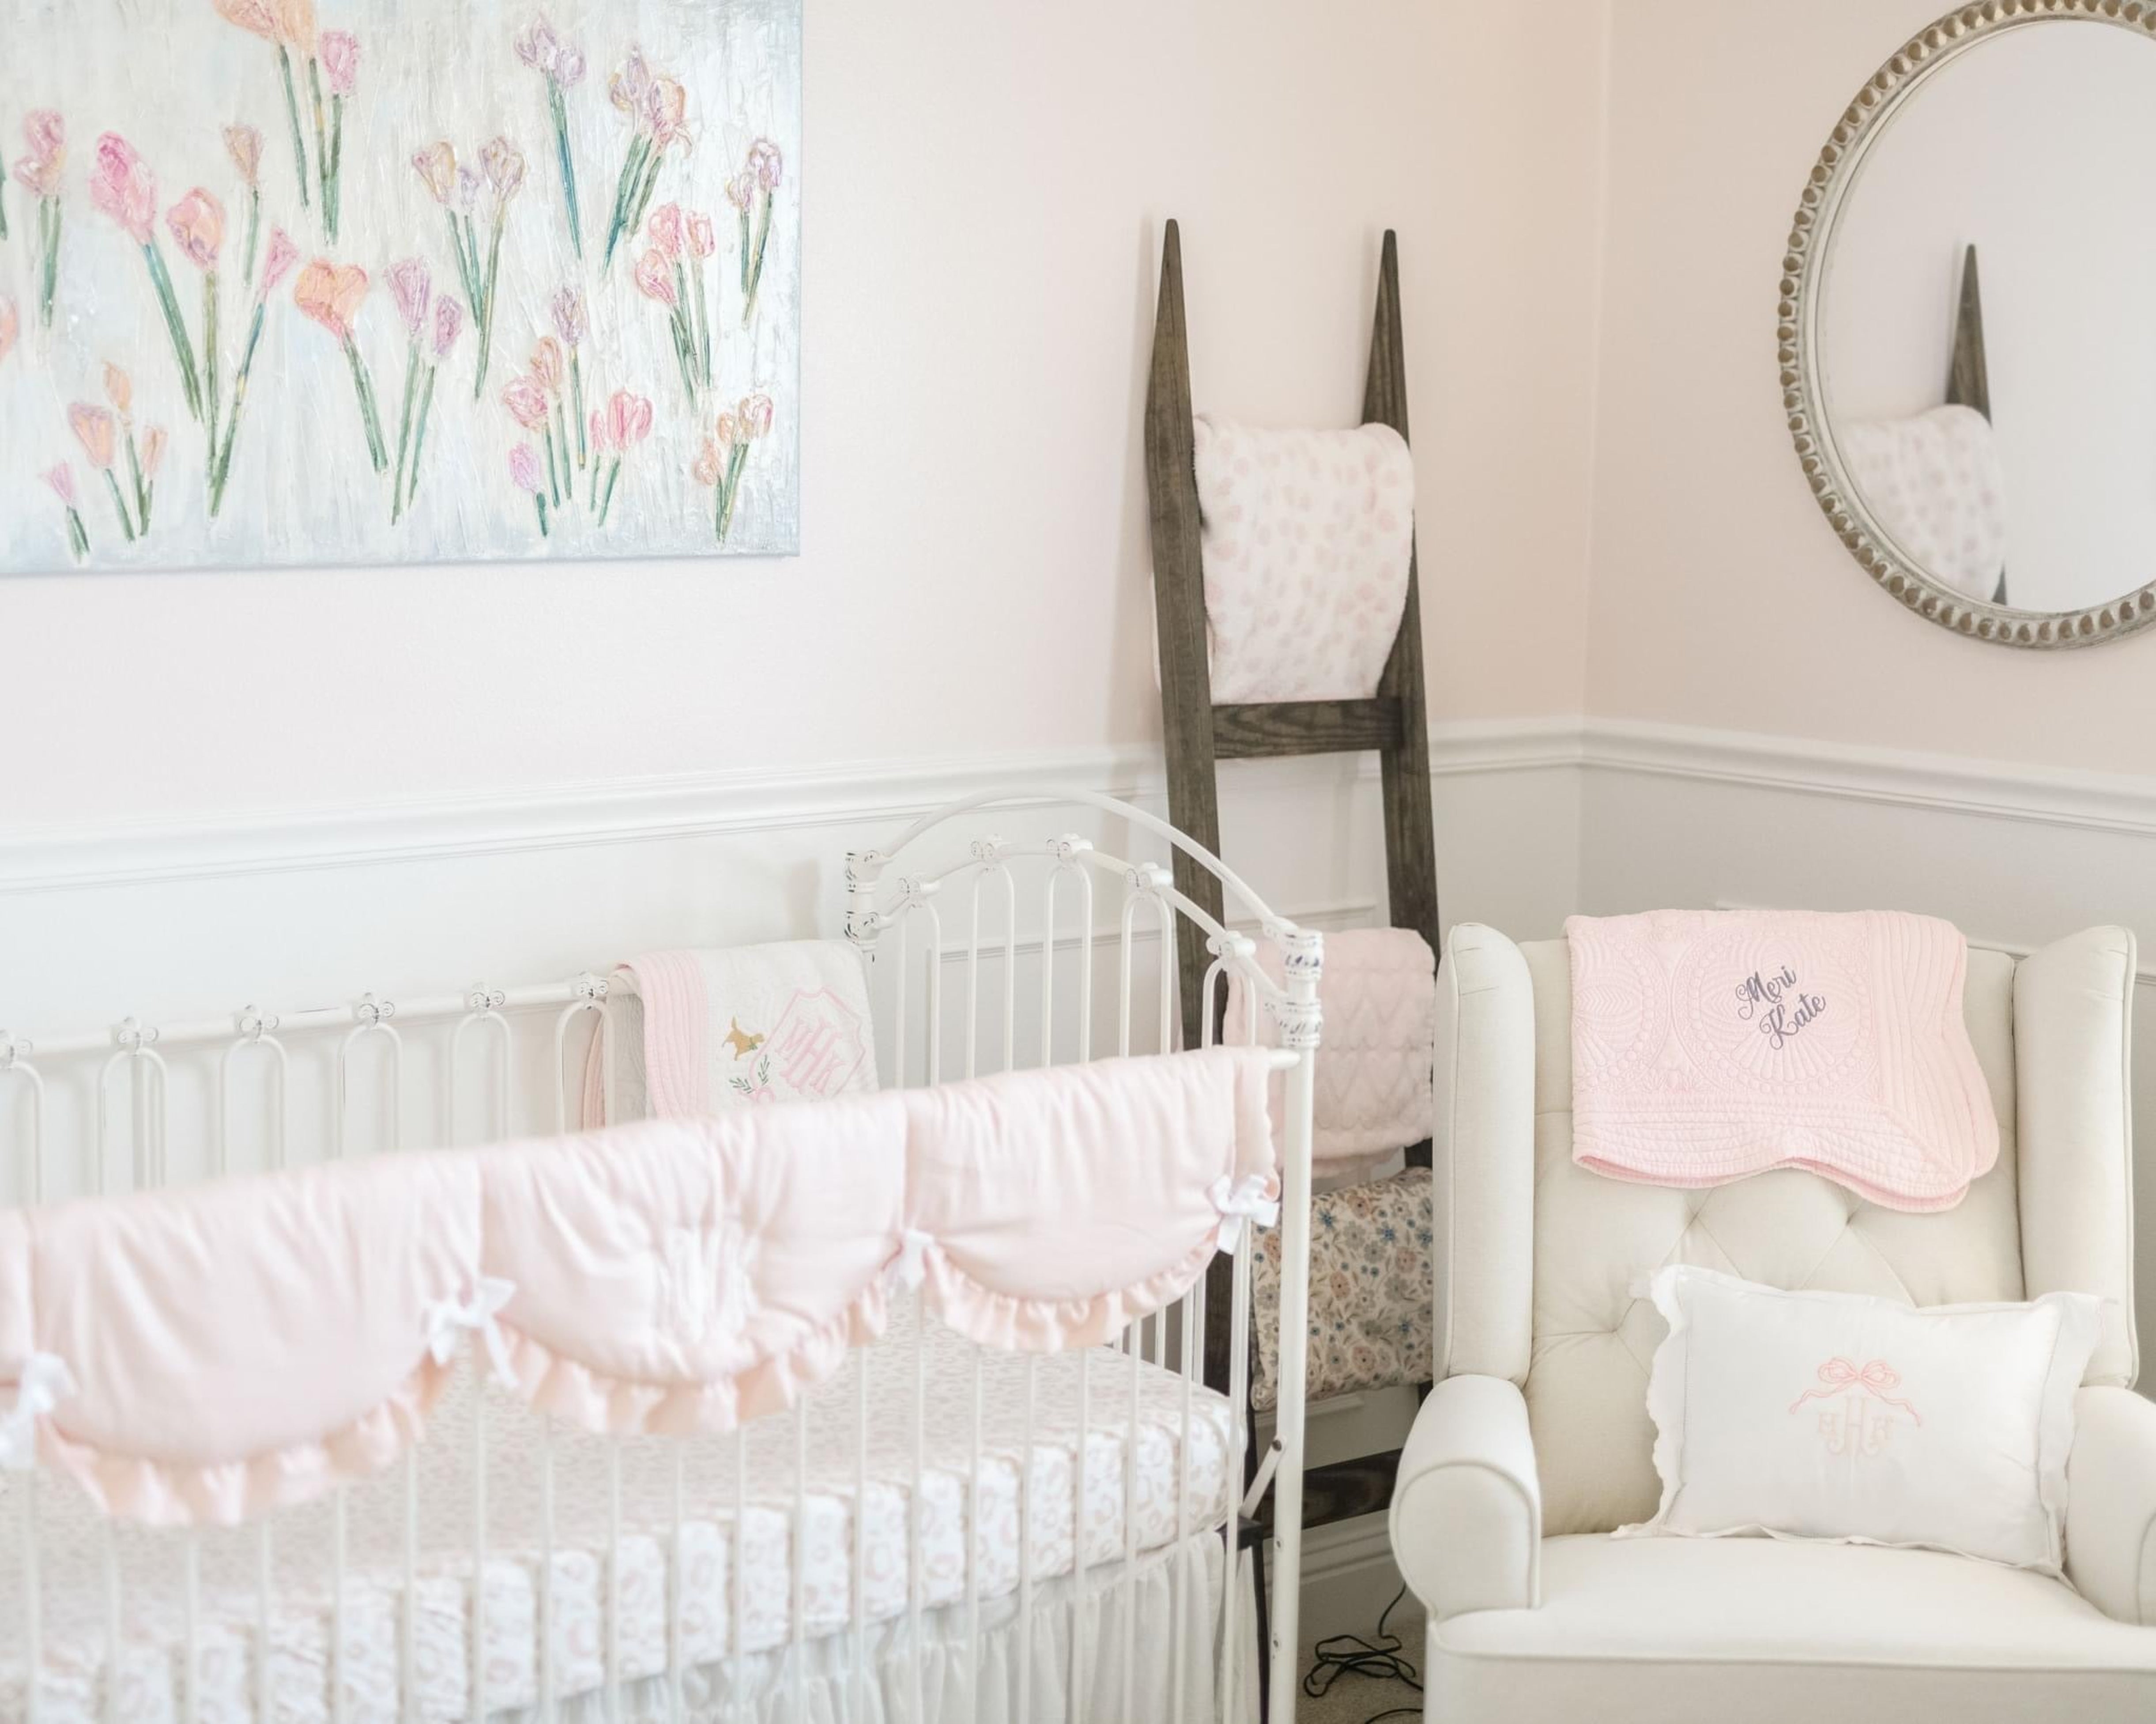

Designing your nursery can be one of the most fun parts of preparing for the birth of your child. If you’ve read our AMAZING guide to nursery design, you know that painting the room is step number 3 (after choosing your furniture and your bedding). When choosing paint colors, keep in mind the size of the room (dark colors make a room look smaller, light colors make it seem more open), the color furniture you’re putting in the space, and the colors in the crib bedding you’ve chosen. You can pull colors from your crib bedding to paint the whole room with or just an accent wall. If you want to add in patterns (dots, stripes, etc.) keep in mind any patterns within your bedding or upholstered furniture to avoid pattern clashing.
Now that you’re ready to start painting, check out some of our ideas to add color and eye-catching features to your nursery!
Brushstroke Accent Wall
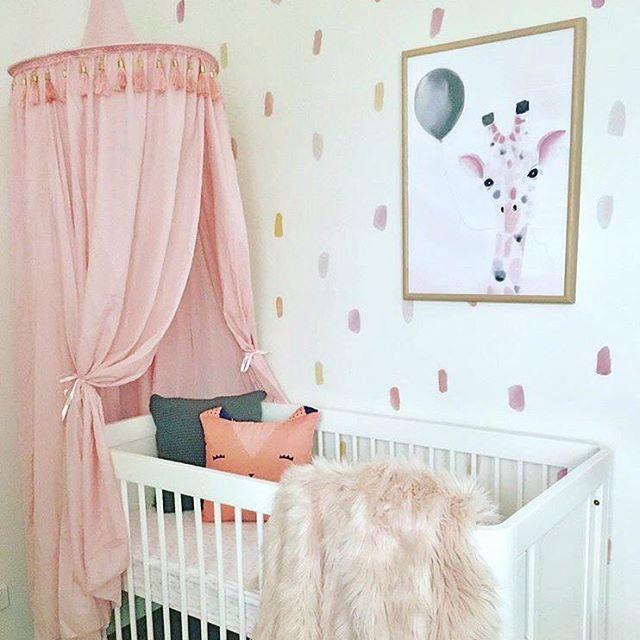
If you’re looking for something modern yet whimsical, this DIY brushstroke wall is for you! Using various types of brushes (this woman used different sized drug store makeup brushes), you can create your own unique accent wall in your nursery. Big prints or busy repetitive patterns pair well with solid fabrics in the bedding and glider. Leaving negative space (not crowding the wall with strokes) will keep the room feeling airy and bigger. Don’t go overboard with the brush strokes!

You can try using a few shades (that are close in tone) if you want to tie in more of your decor. Be sure to keep the colors similar in shade or color family to avoid turning your wall into a preschooler’s art project. If you’re worried about the permanence of paint or your ability to paint, you can try these brushstroke decals. We love the shades of pink with a touch of yellow in this room below.

Spruce Up Your Shelving
Adding color to a room isn’t limited to the walls. If you have a bookshelf or furniture with shelving, try painting the inside to add a pop of color to the room that is subtle but playful. You can choose a color that coordinates with other pieces in the room or introduces a new shade for a bolder look.

If you’re in the market for bookcases and other furniture, consider a thrift store to find a piece you can makeover, just like this blogger. She bought a $5 bookshelf and turned it into this beauty below! With some restaining and some paint, she created a one-of-a-kind price of furniture.

Striped Accent Wall
Painting stripes on a wall can seem like a daunting task, especially if you’re aiming for uniform size and spacing. Stripes can be a fun way to create an accent wall that adds complexity to the look of the room and there are many ways to create a striped wall. This article describes an easy way to ensure straight lines when painting once you’ve decided the size and spacing of your stripes.
- Symmetrical Stripes – If you want the two colors of your stripes to be the same size you’ll need to do some math to figure out the spacing! If you’re doing horizontal stripes, you’ll need to know the height of the wall you’re painting (make sure to subtract any baseboards or crown molding, that will leave you with the total amount of painting area). Next, figure out how many stripes you want of each color and if you want a certain color on the top and/or the bottom of the wall. If you have 90″ of painting space and you want 3 stripes of color A and 2 stripes of color B, then you will have 5 stripes in total. 90″/5 = 18″ per stripe. If the colors you’ve chosen are different from the other walls in the room, choose one to be the “base” color and paint the whole wall and the other color will be what you use to paint stripes with. If one of your colors is on the other walls then that will be your “base” color. Once the base color is dry, use a pencil and measuring tape and measure the first 18″ from the bottom of the painting area and make guide marks along the width of the wall. From those guide marks, you will measure another 18″ and place a second set of marks. The space between these two lines will be the first stripe of secondary color. Continue this process until you’ve reached the top of the wall.
 Now it’s time to put down painting tape for your stripes. To make sure each line is the same size you will place tape below and above the marks you made for the area you will paint. If you were to put them inside the lines for the area that you’re using the secondary color in then those stripes will be smaller due to the tape covering part of the 18″ you’ve measured out.
  Repeat this process for the rest of the lines and then paint within the designated areas.
  When you pull off the tape you should see beautifully straight and symmetrical stripes!
  You can change the number of stripes, which color is on top and/or bottom, and the width of each to fit your vision. Make sure you sketch out the dimensions and layout on a paper before beginning to make sure everything fits. Double-check your math, too. How cute is the striped accent wall in this nursery?
- Varied Stripes – Varying the width of your stripes creates a more modern effect and offers a bolder statement. Less math is needed if you’re going for a more random effect, but if you know you want a pattern, you’ll need to figure out the width and spacing of each stripe in the pattern. Again, plan your stripes out on paper with measurements to save yourself from starting over. We think these stripes below would look SO good with Liz and Roo’s Modern Black and White Crib Bedding.

Faux Shiplap Wall
Modern Farmhouse decor and themes continue to rise in popularity and nurseries are not exempt from this rustic trend. Shiplap is Farmhouse staple, but you don’t need to renovate an entire wall or bust out the power tools to achieve this signature look. If you’re looking to add some character to one of the walls in your nursery all you need is a permanent pen. That’s right, this DIY blogger shows you how to draw your own shiplap and forgo the cost and mess of boarding up your walls! With the right wall color and pen, this trick looks like the real deal (seriously, this woman says her guest had to feel the wall to believe it).

This trick will look best on a smaller wall and adding a bit of trim at the ends helps finish the look. This blogger used paint and paint tape to create crisp shiplap lines. This way will be a little more time-intensive but has gorgeous and realistic results!

If you’re creating a farmhouse themed nursery, don’t forget to check out Liz and Roo’s Modern Farmhouse Plaid and Modern Farmhouse Floral crib bedding!
Painted Ceiling
Keeping the walls bare (or very light) and adding a pop of color to the ceiling has a modern and fun effect on a room. It draws the eye upwards and can allow anything hung on the wall to stand out more. Venture away from the traditional colored walls and make the ceiling an interesting feature. This article gives you some tips on accomplishing this look!

To keep the room from feeling crowded, keep the walls a shade of white or very light neutral color. If you have low ceilings, stay away from dark colors and choose a light shade to give the room a taller appearance. However, if you have high ceilings you might be able to play with darker, bolder colors.

We hope you are inspired by these ideas. Don’t forget to pick out your furniture and bedding first: hop on over to Liz and Roo and browse our boy, girl, and gender-neutral bedding collections to find your dream set! Tag us in your nursery pictures on Instagram (@lizandroobaby) to show us your Liz and Roo bedding in the wonderful room you created!